Also another thing. as i am writing this tutorial i dont have any vids made in premiere on this website. Why? because for some reason everytime i try to connect with CuteFTP it always gets disconnected. So dont ask how i know about premiere when none of my current vids r made in it
Part 1 - Beginning To Use Adobe Premiere
ima be using Adobe Premiere 6.5, not much of a difference between 6.0 except that 6.5 has a new titler, a few new effects, and real-time preview. most of this information can be used in premiere pro too
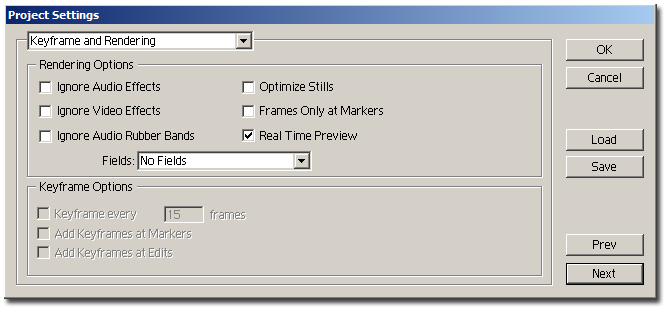
Aight when u first open up premiere, u must make your project settings. I will not be making a tutorial on that, go here http://www.animemusicvideos.org/guides/ ... setup.html
NOTE : 6.5 users, use these settings in 'Keyframe and Rendering'
REAL TIME PREVIEW : only in 6.5 and it is good for effects like black and white, fades,invert, etc. but for things like 'Ghosting' or 'Radial Blur' u wud have to render those sections
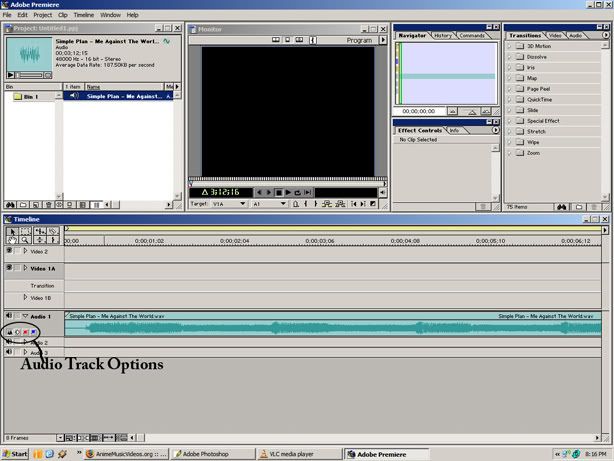
Here's the basics of the Adobe Premiere Interface

(CLICK IMAGE TO INCREASE SIZE)
These your editing tools, the most common ones would be the Razor tool and the Arrow Tool
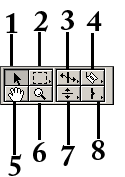
1. Arrow Selection Tool - Moving Clips Around and Trimming
2. Multi Selection Tool - Selecting Multiple Clips
3. Rate Stretch Tool - Slowing or Speeding Clips
4. Razor Tool - Cutting Clips
5. Hand Tool - Moving clips (not that different from the Arrow)
6. Zoom Tool - Zooming on the Timeline (better to use the zooming tool at the bottom of the timeline)
7. Opacity Tool - Changing the Opacity of a clip
8. In and Out Point Tool - Cutting Clips
BEFORE IMPORTING CLIPS MAKE SURE THE VIDEO IS NOT DIVX/XVID AND THAT THE MUSIC IS WAV FILES!!!!
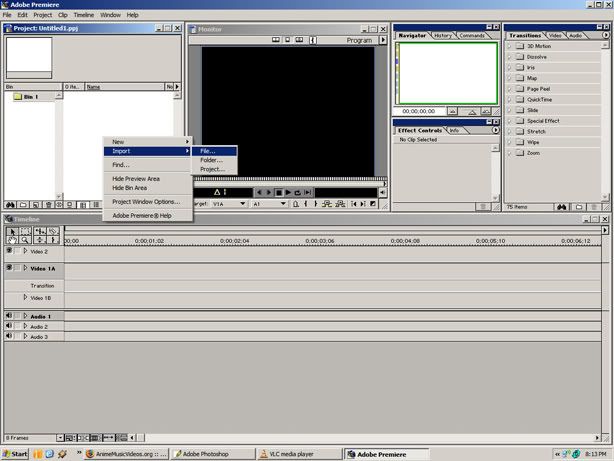
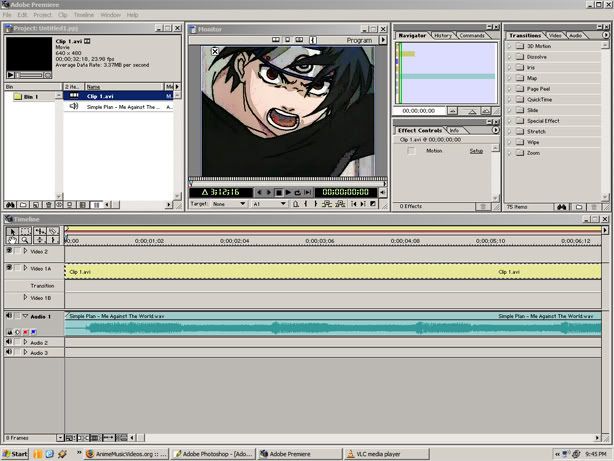
now lets import some files
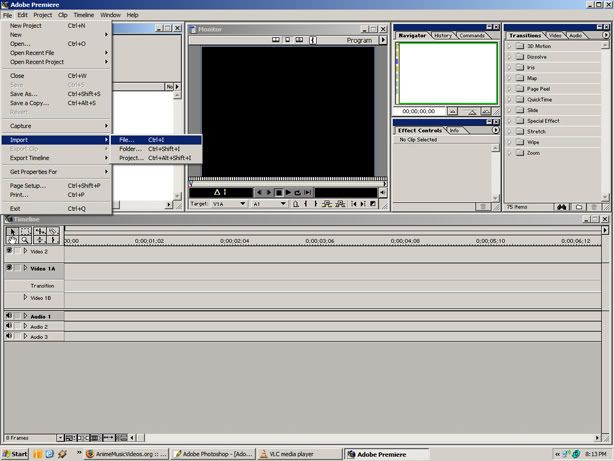
either do that or right click on the project window like i did here
Just drag the audio on to the timeline and click the squiggly button to see the waveform
same thing with the video
in premiere u cant repeat the clip over and over again by dragging like in Sony Vegas
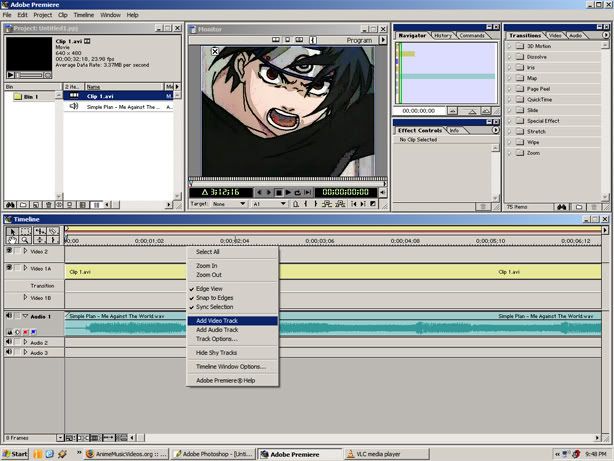
to add an audio or video track simply right click and select what u want
so u want to get started on cutting clips?
just select your razor tool and click where u want to split it
NOTE : A SHORTCUT TO CUTTING A CLIP IS PRESSING F10(if u press F10 it will cut every layer where the scrubber is.
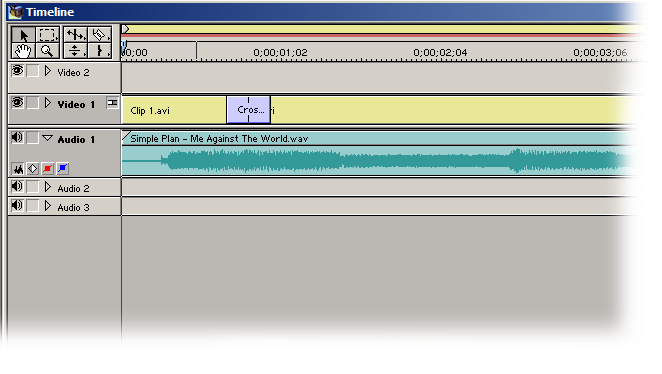
MAIN TRACK EDITING : in case u havent noticed by now, Adobe Premiere 6.X cant have transitions in any track except track 1
Single Track Editing or A/B Editing???
Here's how a single track with a transition looks like
and here's how a A/B editing transition looks like
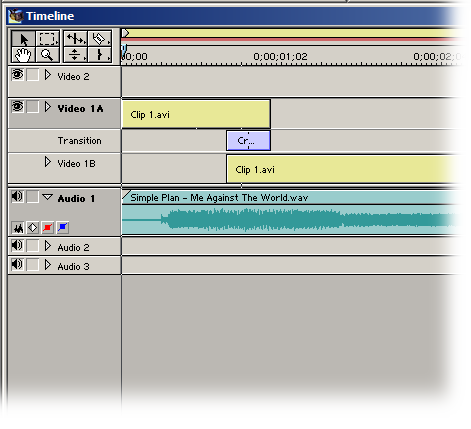
which one looks easier to u? to most ppl it would probably be A/B editing and that is the one i recommend
In the next tutorial i will be going over Transparency and Speed


